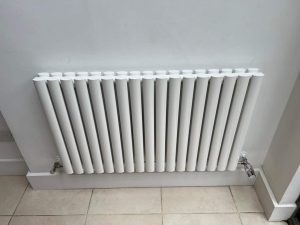
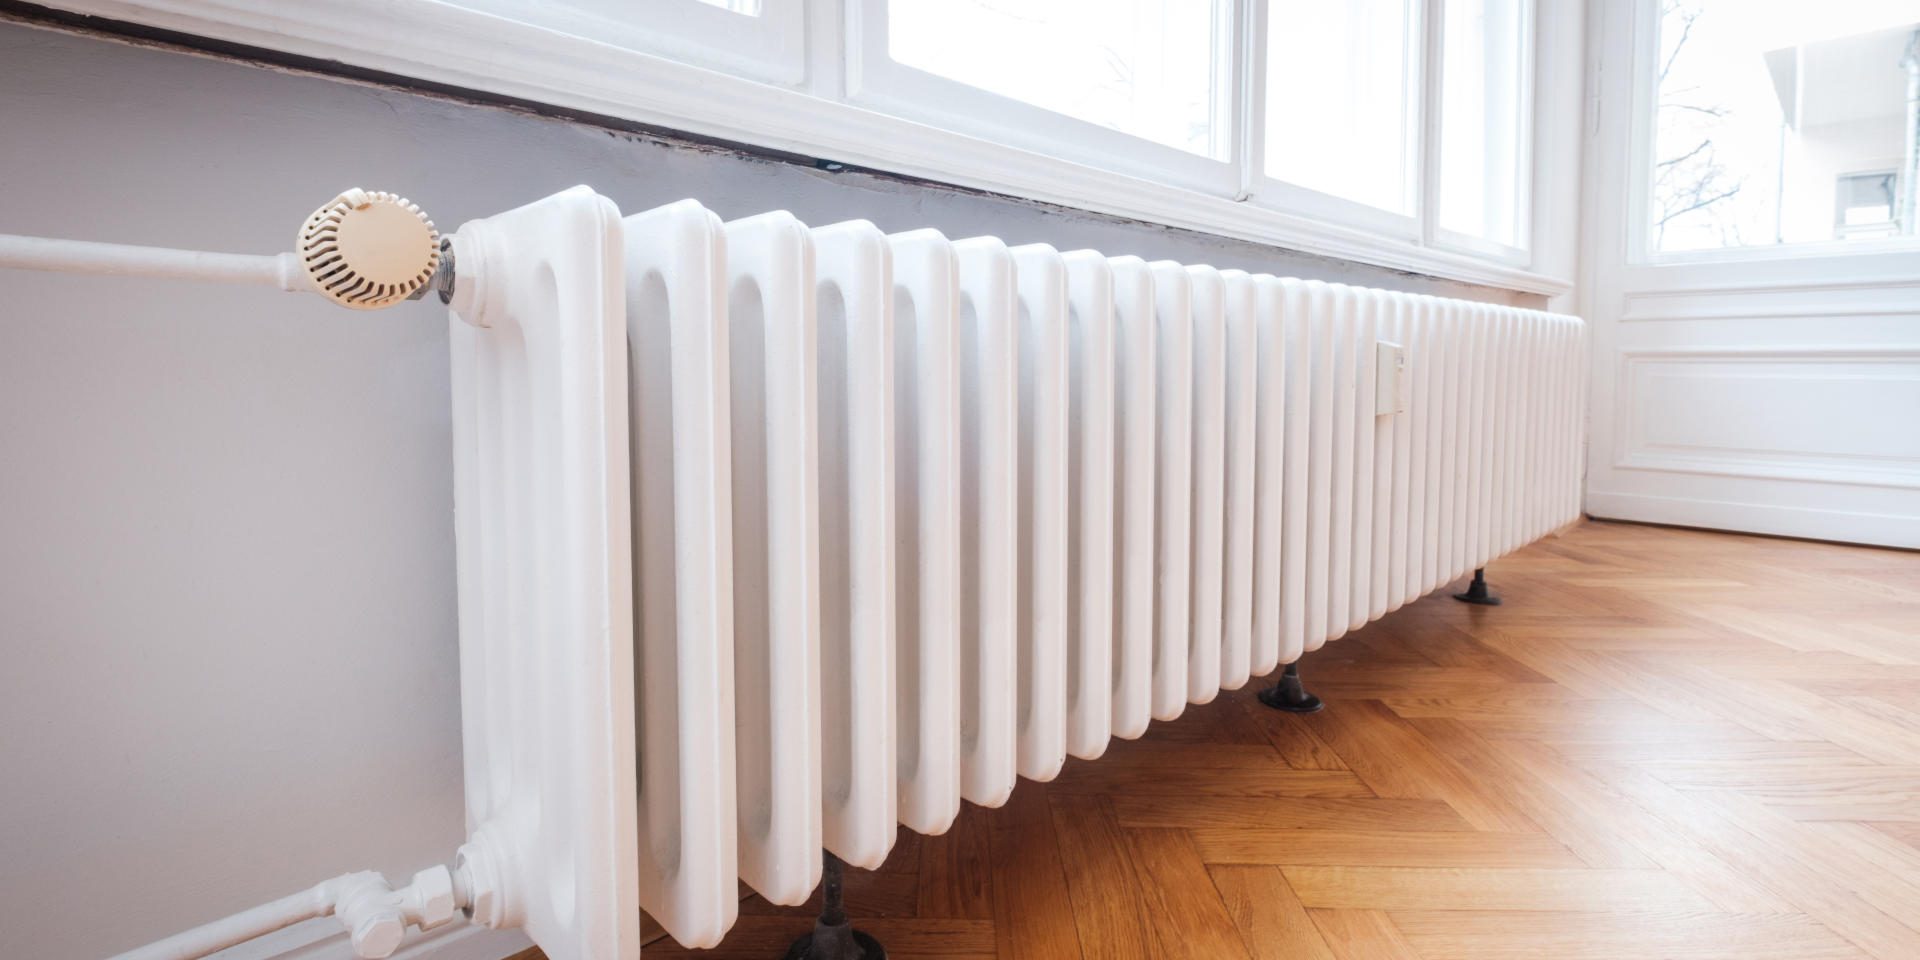
One of the most common requests plumbers and heating engineers receive is to temporarily remove a radiator so that homeowners can decorate behind it. Ideally, this should be done without draining the entire system to minimise disruption and ensure convenience. However, this is only possible if the radiator can be fully isolated using functional valves. If the valves are faulty, the system is outdated, or the task involves more extensive work, draining the system becomes necessary to ensure safe and effective handling.
While we always recommend seeking professional assistance for any work involving your heating system, DIY enthusiasts may be tempted to remove or replace a radiator themselves for tasks like painting behind it, all without draining the system. If you’re considering tackling this project on your own, keep reading to learn the essential steps to make the process safe and straightforward—while protecting your flooring or that delicate cream carpet!
When Can You Remove a Radiator Without Draining the System?
Removing a radiator without draining the system is typically possible in the following situations:
- Isolation of the radiator. The radiator needs to be fully isolated from the heating system using its valves (usually the Thermostatic Radiator Valve (TRV) and Lockshield Valve). If these valves are functioning properly and can be completely shut off, they prevent water from flowing into or out of the radiator. In this case, the system can stay pressurised, and the radiator can be safely removed.
- Small jobs like valve replacement, cleaning, decorating. As long as the job is localised to the radiator (like replacing a valve, cleaning, or temporarily removing it for decorating), this method is ideal. The system’s overall water pressure remains unchanged, and the homeowner can easily reinstall the radiator once the work is complete.
- Working with a pressurised or sealed system.In a sealed or pressurised system (which does not rely on a water tank), isolating a single radiator and working on it without draining is often straightforward if the system pressure is maintained. These systems are more self-contained, allowing for quicker isolation of individual components.
When is it Not Possible To Remove A Radiator Without Draining The System?
- Faulty or non-isolating valves. If the radiator’s valves are broken or cannot completely shut off the water flow, it would be unsafe to attempt removing the radiator without draining the system. In this case, water will continue to flow into the radiator, leading to potential flooding and damage.
- Old or complicated systems. Older heating systems might not have modern radiator valves, making it harder to isolate individual radiators. Some older systems rely on gravity-fed water (such as a water tank) or lack proper isolation, meaning draining the entire system might be the only safe option.
- Major repairs or replacement. If you are planning on work involving more than just removing the radiator (such as changing multiple radiators, replacing pipework, or flushing the system), it’s better to drain the system to ensure safety and efficiency.
- Low system pressure. In some systems, especially open-vented ones, the pressure may be too low to safely remove a radiator without draining, as water may still trickle from the pipes even with valves shut. Draining the system ensures there’s no residual pressure that could cause water leaks when disconnecting the radiator.
The Tools Needed To Remove A Radiator
You will need to arrange for the below-mentioned tools and materials before initiating the task of temporarily removing a radiator:
- Adjustable spanner:This is the most common and most useful tool in this process. It is used to tighten and loosen the connections of the valves.
- Pair of grips:A pair of grips is either used in place of the adjustable spanner or exclusively used to deal with pipes and valves that are corroded and stuck because of long-term usage.
- Towels or buckets:Remember that you are dealing with a central heating system that has been in constant use. So, there is a high chance of getting dirty water spills or leaks during the removal of the radiator from the wall. Be equipped to handle the mess if any of it arises.
- Container for draining water:Although all measures are taken to remove the radiator off the wall without draining, you still need a container like a plum tub or painter’s rolling tray to position between the radiator valves to compensate for any leaks during the process.
- Dust sheets or old towels:Have an old towel, tissues, and an old rag ready with you to cover any surrounding stuff that might accidentally get dirty. You also need cloth pieces or tissue to block the holes where the radiator valves connect.

Steps To Temporarily Remove A Radiator
You are required to remove a radiator without draining the system in two prime scenarios:
Scenario 1: Your existing radiator might come up with issues like bleeding or whistling over a span of continuous usage. In this case, you need to get it repaired by a reliable professional.
Scenario 2: Your home is about to undergo renovation work, and the wall behind the radiator needs to be painted or decorated.
In either case, Oliver Osmore, Managing Director of Maintracts Services Ltd in London, shares his step-by-step guide to give you the confidence needed to perform removing a radiator temporarily without draining the system:
1
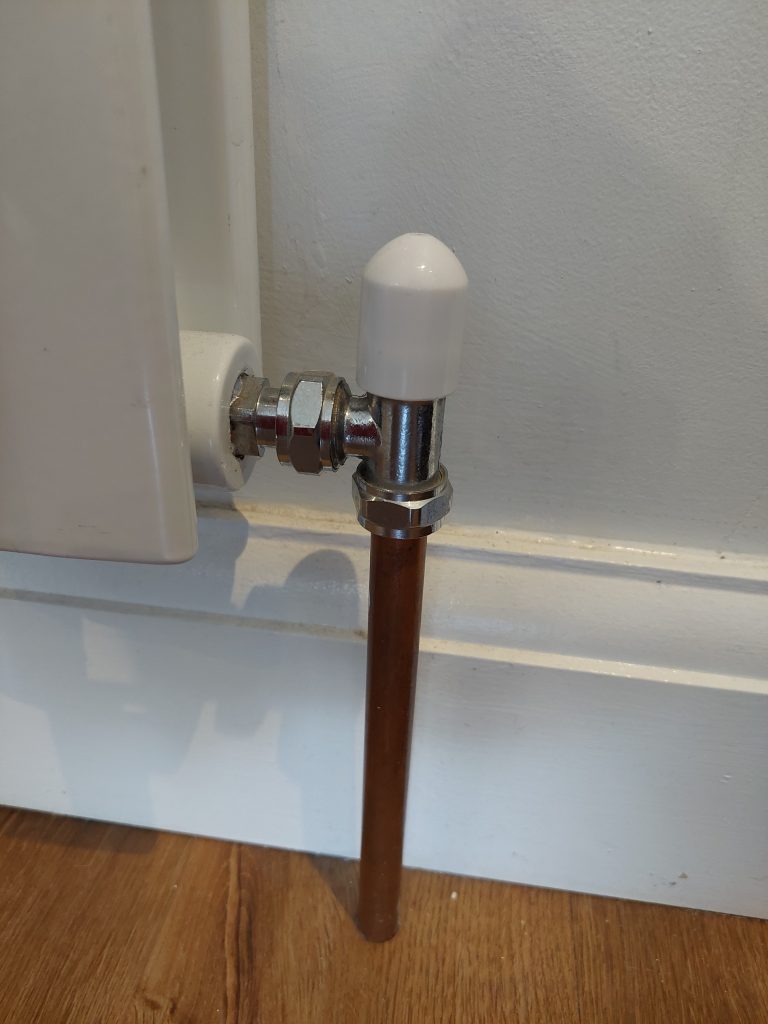
To take the radiator off the wall, you need to first shut off the radiator valves. In a typical scenario, you would have a valve with a large handle on one side of the radiator or a thermostatic valve that you can easily turn off. Turn it clockwise to close the valve. On the other side of the radiator, you will find a Lockshield valve with a smaller smooth cap that you can’t necessarily turn; you have to take the cap off the valve.
2
Sometimes there is a screw on top, which you must undo. Once you take the cap off, you will see a brass spindle underneath that you need to turn clockwise with an adjustable spanner or pair of grips. Once both the valves are closed, you can use a vent key to vent the radiator and relieve any pressure in the radiator. At this moment, your surrounding area should be covered and protected from any water or radiator sludge that may escape, especially if you have a light-coloured carpet or delicate floor areas.
3
Now, grab one or two containers, such as an ice cream tub, bucket, or an old paint tray, and place them under the connections where the radiator valves meet the pipes. Using a pair of grips or an adjustable spanner, carefully loosen the connections between the radiator and the valves, one at a time. As you do this, water will begin to flow out from the radiator, so make sure your container is in the right position to catch it. Keep in mind, you’re not draining all the water—just enough to safely remove the radiator.
4
Once you are done with that, you’ll be able to lift the radiator off the wall brackets. Once it is off the wall, turn the radiator over so it’s on in its head and the connections are on the top, and then carefully walk it out of the property. Turning it upside down will also prevent any water spillage on the carpet. You might want to get some tissue or cut an old rag to put into the holes where the radiator valves were connecting, just to block those off and stop any water from coming out.
Essential Tips: Key Considerations When Removing A Radiator for Decorating Or Repairs
- Once the wall brackets are removed, refit the screws partially in their designated wall areas. If you miss this minor step, you will be required to perform one of the toughest tasks of measuring and drilling the wall to fit in the wall plugs.
- Tighten the radiator cap nut on the thermostatic valves. Or else it might accidentally get turned on and weep with dirty water. Make use of a pipe wrench or grips to perform this task.
- If required, cover your thermostatic radiator valves with something to prevent any paint or plaster used during renovation from spoiling them.
- Never ever start the removal work without disconnecting the radiator from the central heating system, or else you might burn yourself. Once turned off, allow it to cool before you begin the removal process.
- Depending on the size of the radiator, the radiator might be heavy to lift. So, do have a second person alongside to help you carry and take the radiator out of the property.
- Make sure that the hole on the bleed valve where you use the radiator bleed key is facing away from the wall, or else the dirty water that oozes out from the hole might dirty your wall.
- Don’t panic when working as a DIYer, even if you are stuck with stubborn fittings; seek help from an expert professional.
- If the water from the valve does not stop flowing, it means the valves are not holding the water, and the water is still coming from the heating system into the radiator. If this happens, further progression cannot be made as there might be an issue with one of the valves, and this needs to be taken care of first by an experienced plumbing professional.
Benefits Of Removing A Radiator Without Draining When Decorating A Wall?
Removing a radiator off the wall when you’re decorating can be handy for a few reasons. For starters, it keeps the radiator safe from paint splatters or any mess from plastering. Plus, once the radiator’s out of the way, you can get right into those hard-to-reach spots behind it, making sure the wall gets a nice, even finish.
Another perk? If your radiator’s seen better days—it’s getting inefficient or just costing you more in maintenance—removing it gives you a great chance to swap it out for a new, modern model that suits your room better.
Now, while the idea sounds simple, the actual job can be a bit tricky. You’ve got to be careful to avoid any water spills and make sure everything connects back up properly to the heating system. If you’re unsure or want to play it safe, it’s always an innovative idea to call in a professional to get it done right.

Following the expert guidance of our expert Heating Engineer on how to remove the radiator without draining, you should be confident enough to remove or replace the radiator as a pro. But, if you face any complexity even as a seasoned DIYer, or you still feel reluctant to have a go yourself, feel free to contact the Maintracts team who have over 50 years’ experience in radiator repair and installation. We’d love to help.
Frequently Asked Questions
Yes, the radiator can be removed from the wall without draining by disconnecting it from the central heating system and closing the valves at either end of the radiator. For in-depth details of the process, refer to the blog above.
The time taken to remove the radiator depends on the size and type of the radiator. It also depends on the proficiency of the individual performing the task.
If the central heating system is not turned off and time is not given to cool down the radiator, chances are that you might burn your hand while removing the system.
The tools to be used are an adjustable spanner, pair of grips, towel, rag, bucket, vent key, plum tub, or painter’s rolling tray.
To avoid any sort of water spillage, place a piece of cloth near the hole of the bleed valve and ensure that the hole is facing away from the wall. Secondly, position the removed radiator upside down with connections on the top side while taking it out of the property.
No, all the radiators require the standard set of instructions to temporarily remove the radiator off the wall.


